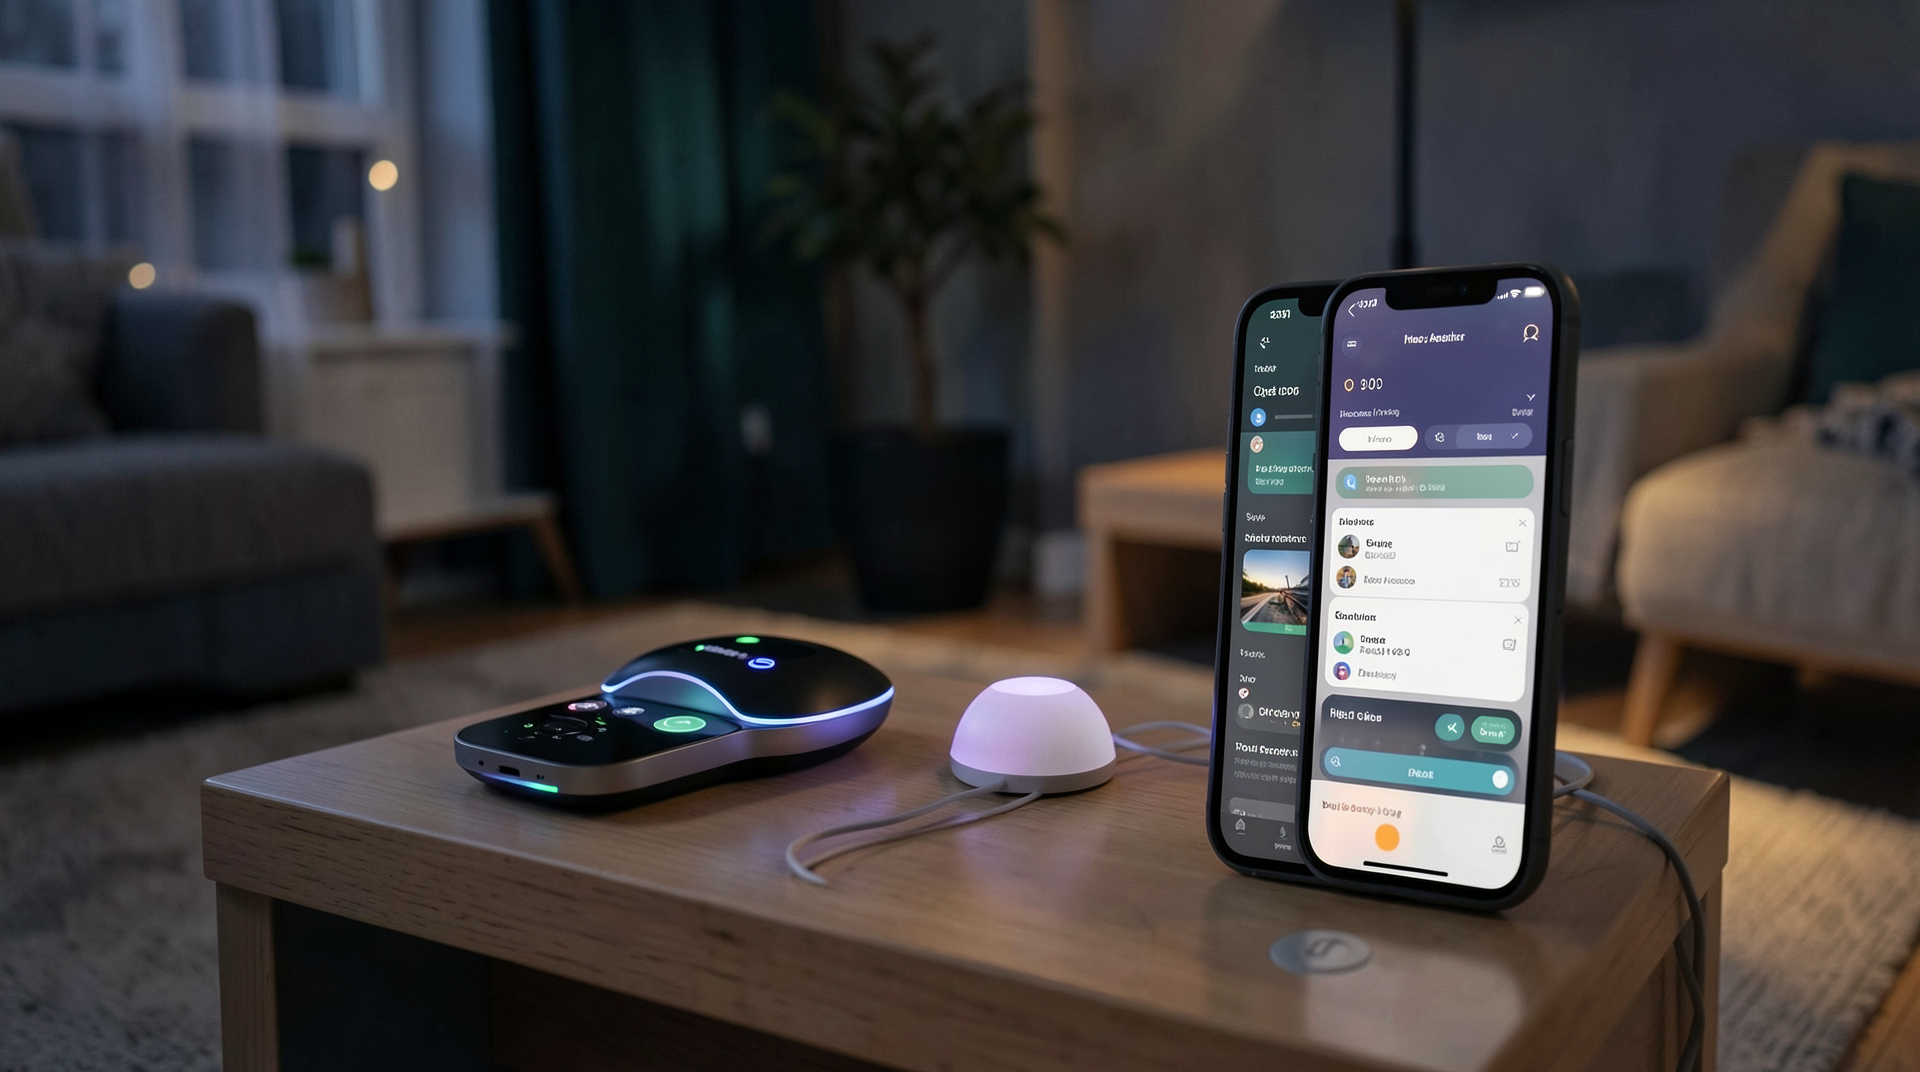
You've built your Home Assistant setup. Sensors report. Lights turn on and off. Your thermostat adjusts automatically. But there's one thing missing: walking into a room and simply telling your home what to do.
Voice control is the final piece of the puzzle — and until recently, it meant either buying into a cloud ecosystem (Alexa, Google Home) or wrestling with underpowered USB mics and flaky software. Neither is a great experience.
With the NexLine Voice Box — powered by an NVIDIA Jetson Orin Nano — you can add local, private, sub-second voice control to Home Assistant in under 30 minutes. No cloud accounts. No API keys. No skills to enable.
What You'll Need
Before we dive in, make sure you have the following:
- A voice assistant box with far-field microphones, a speaker, and onboard AI processing (like the NexLine Voice Box)
- Network connection — wired Ethernet preferred, but Wi-Fi works too
- Home Assistant server running on a Raspberry Pi 4/5, NUC, or equivalent
That's it. No cloud subscriptions. No third-party accounts. No developer API keys. The entire pipeline — speech-to-text, intent matching, text-to-speech — runs locally on the voice box.
Step 1: Connect the Hardware
Getting the hardware set up is straightforward:
- Plug in the power adapter to your voice box and a wall outlet.
- Connect to your network via the Ethernet port for best performance, or follow the Wi-Fi pairing procedure.
- Wait for the green LED — about 90 seconds — while the device boots and connects to your network.
When the LED glows solid green, your voice box is online and ready. It will automatically announce itself on your network via mDNS, so Home Assistant can discover it without any manual IP configuration.
Step 2: Add the Device to Home Assistant
Home Assistant should auto-discover the voice box within seconds of it connecting to your network. Here's how to complete the setup:
- Open Home Assistant and navigate to Settings > Devices & Services.
- Look for the new device under the Discovered section — it will appear as "NexLine Voice Box" or similar.
- Click Configure and walk through the setup wizard:
- Assign the device to a room (e.g., "Living Room")
- Select your preferred wake word (options: "Hey NexLine", "Hey Jarvis", or custom)
- Run the microphone test — speak a test phrase and confirm the audio registers
Once configured, the voice box appears as a media player and microphone entity in Home Assistant. It's now ready for voice commands — but to handle natural language properly, we need to set up the Assist pipeline.
Step 3: Configure the Assist Pipeline
The Assist pipeline is the chain of processing steps that turns your spoken words into home automation actions. Here's how to configure it:
- Go to Settings > Voice Assistants > Assist Pipelines.
- Click Add Pipeline and give it a name (e.g., "Local Voice").
- Configure each stage:
- Speech-to-Text (STT): Select "NexLine Whisper" — this runs OpenAI's Whisper model locally on the Jetson Orin Nano for accurate, offline transcription.
- Text-to-Speech (TTS): Select "NexLine Kokoro" — this provides natural-sounding spoken responses generated entirely on-device.
- Conversation Agent: Leave the default Home Assistant conversation agent, or enable a local LLM for more flexible command parsing.
- Set this pipeline as the default for your voice box entity.
That's it. The pipeline is live. You can now say your wake word followed by a command, and the voice box will process it entirely locally.
Step 4: Create Voice Automations
Once the pipeline is configured, you can create automations triggered by voice commands. Each automation listens for specific phrases and performs the actions you define. Below are four common scenarios with ready-to-use YAML configurations.
Simple Light Control
This automation responds to multiple trigger phrases for turning lights on and off:
alias: "Voice - Living Room Lights"
trigger:
  - platform: conversation
    command:
      - "turn on the living room lights"
      - "lights on in the living room"
      - "living room lights"
      - "turn on lights"
condition: []
action:
  - service: light.turn_on
    target:
      area_id: living_room
mode: single
alias: "Voice - Living Room Lights Off"
trigger:
  - platform: conversation
    command:
      - "turn off the living room lights"
      - "lights off"
      - "living room lights off"
condition: []
action:
  - service: light.turn_off
    target:
      area_id: living_room
mode: single
"Movie Time" Scene
Trigger a full home theater scene with a single voice command — lights dim, blinds lower, projector turns on:
alias: "Voice - Movie Time"
trigger:
  - platform: conversation
    command:
      - "movie time"
      - "start movie"
      - "home theater mode"
      - "let's watch a movie"
condition: []
action:
  - service: light.turn_off
    target:
      area_id: living_room
  - service: cover.close_cover
    target:
      area_id: living_room
  - service: media_player.turn_on
    target:
      entity_id: media_player.projector
  - service: media_player.select_source
    target:
      entity_id: media_player.projector
    data:
      source: "HDMI 1"
  - service: media_player.volume_set
    target:
      entity_id: media_player.receiver
    data:
      volume_level: 0.35
mode: single
Temperature Control
Adjust your thermostat with natural voice commands:
alias: "Voice - Set Temperature"
trigger:
  - platform: conversation
    command:
      - "set temperature to {% raw %}{{ temperature }}{% endraw %} degrees"
      - "make it {% raw %}{{ temperature }}{% endraw %} degrees"
      - "set thermostat to {% raw %}{{ temperature }}{% endraw %}"
condition: []
action:
  - service: climate.set_temperature
    target:
      entity_id: climate.thermostat
    data:
      temperature: "{% raw %}{{ temperature }}{% endraw %}"
mode: single
Goodnight Routine
A comprehensive goodnight automation that preps the entire home for sleep:
alias: "Voice - Goodnight"
trigger:
  - platform: conversation
    command:
      - "goodnight"
      - "good night"
      - "time for bed"
      - "bedtime"
condition: []
action:
  - service: light.turn_off
    target:
      area_id: living_room
  - service: light.turn_off
    target:
      area_id: kitchen
  - service: light.turn_on
    target:
      entity_id: light.bedside_lamp
  - service: lock.lock
    target:
      area_id: front_door
  - service: climate.set_temperature
    data:
      target:
        entity_id: climate.thermostat
      temperature: 18
  - service: media_player.turn_off
    target:
      area_id: living_room
mode: single
Step 5: Fine-Tune Wake Word Sensitivity
The wake word engine is designed to work reliably in real-world conditions, but you may need to adjust sensitivity based on your environment.
Access the wake word settings through the web interface at the voice box's IP address (find it in your router's DHCP client list or check Home Assistant). You'll see three sensitivity levels:
- High — responds from farther away and to quieter speech, but may trigger more false positives from TV, conversations, or background noise
- Normal — balanced for most home environments; recommended starting point
- Low — requires a clear, direct command; best for open-plan spaces with lots of ambient noise or households with frequent TV/music use
Start with Normal and adjust up or down based on your experience. You can change this at any time without restarting the device.
Pro Tips
Make your voice control setup more reliable and natural with these best practices:
- Use area names consistently — name your areas (Living Room, Kitchen, Bedroom) in Home Assistant and always reference them the same way in your trigger phrases.
- Group related commands — instead of one automation per phrase, bundle multiple trigger phrases into a single automation. This keeps your automations list clean and easier to manage.
- Test with the Voice Assistant Dashboard before relying on voice triggers in daily use. The dashboard shows the full pipeline: audio waveform, STT output, matched intent, and execution result.
- Enable a local LLM for the conversation agent. A small model like Qwen 3B or Llama 3.2 (both runnable on the Jetson Orin Nano) provides much more flexible natural language parsing than the default template-based conversation agent.
Troubleshooting
Even with careful setup, you may encounter issues. Here are the most common problems and their fixes:
| Symptom | Likely Cause | Solution |
|---|---|---|
| "I didn't catch that" | Background noise or low volume | Increase wake word sensitivity or reduce ambient noise (TV, fan, HVAC) |
| 2-second delay before response | Cloud fallback instead of local pipeline | Verify Assist Pipeline is set to "NexLine Whisper" for STT and "NexLine Kokoro" for TTS — not a cloud provider |
| Device not found in HA | mDNS / network segmentation | Ensure voice box and HA server are on the same subnet; check IGMP/mDNS settings on your router |
| Inconsistent command recognition | Too many similar trigger phrases | Consolidate phrases; avoid minor variations that confuse the intent matcher |
| No audio response from speaker | Volume muted or too low | Check volume level via the voice box web interface or Home Assistant media player controls |
Frequently Asked Questions
How long does it take to set up voice control with Home Assistant?
With a dedicated voice assistant box like the NexLine Voice Box, you can be up and running in under 30 minutes. Hardware connects in 90 seconds, Home Assistant auto-discovers the device, and the Assist pipeline configures with a few clicks. Most of your time will be spent creating the automations that make the system useful for your specific home.
Do I need a cloud subscription for Home Assistant voice control?
No. A local voice assistant box runs everything on-device — Whisper for speech-to-text, Kokoro for text-to-speech, and your choice of conversation agent. There are no cloud accounts, no API keys, and no monthly subscription fees. Even Home Assistant's own Nabu Casa cloud is optional and unnecessary for local voice control.
Can I control voice automations beyond just lights?
Absolutely. Voice automations can trigger any Home Assistant entity or service: lights, climate, covers (blinds/shades), locks, media players, fans, sensors, and custom scripts. The "Movie Time" and "Goodnight" examples in this guide demonstrate multi-device scene control. Anything Home Assistant can do, your voice can trigger.
What if the voice box doesn't respond to my commands?
Start with the troubleshooting table above. The three most common fixes: (1) ensure you're using the local Assist pipeline, not a cloud fallback; (2) adjust wake word sensitivity if background noise is drowning out commands; (3) check that the voice box and Home Assistant server are on the same network subnet for mDNS discovery.
STT & TTS options: Whisper for transcription, Kokoro for speech synthesis — both run fully locally
Complete HA integration: The NexLine Voice Box connects to Home Assistant via the local REST API and WebSocket, providing RAG-powered voice control for all your entities and automations.